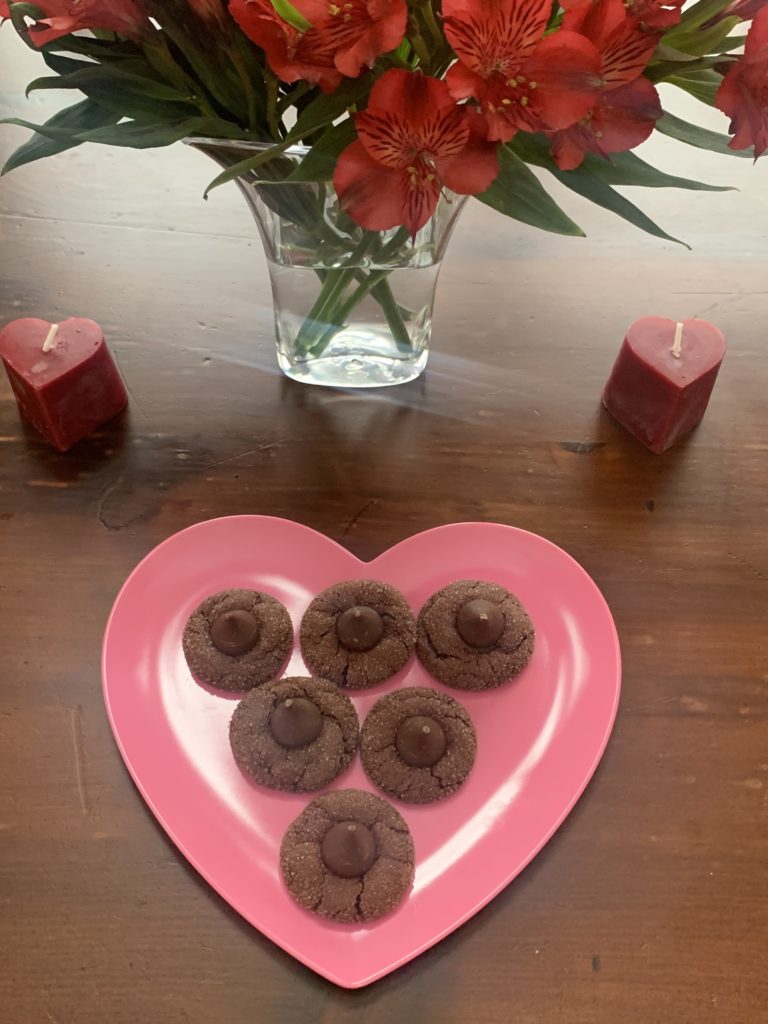
Red Velvet Kiss Cookies
Sally’s Baking Addiction is one of my go-to sources for baking recipes. Everything I’ve made from the site has been a hit and she has some amazing tips and explanations. I really feel like I’ve learned more about the science of baking from reading her blog.
This sweet Valentine’s treat was loved by everyone in my house. A chewy chocolatey cookie covered in coarse sugar and topped with a Hershey kiss! Yum! My only recommendation is to use gel food coloring if you want the red color. I just used regular food coloring and doubled the amount but my cookies look like chocolate — not red velvet.
Hope you are surrounded by love and sweetness today.
Red Velvet Kiss Cookies
Sally’s Baking Addiction
Cookies
- 1 and 1/2 cups + 1 Tablespoon (200g) all-purpose flour
- 1/4 cup (21g) natural unsweetened cocoa powder
- 1 teaspoon baking soda
- 1/4 teaspoon salt
- 1/2 cup (115g) unsalted butter, softened to room temperature
- 3/4 cup (150g) packed light or dark brown sugar
- 1/4 cup (50g) granulated sugar
- 1 large egg, at room temperature
- 2 teaspoons pure vanilla extract
- 1 Tablespoon milk (Sally uses buttermilk)
- 1/2 teaspoon gel red food coloring (or alternative)
- 32–36 Hershey’s Kisses, unwrapped
Coating
- 1/2 cup granulated sugar (100g) or confectioners’ sugar (60g)
Instructions
- Whisk the flour, cocoa powder, baking soda, and salt together in a medium bowl. Set aside.
- Using a hand mixer or a stand mixer fitted with paddle attachment, beat the butter, brown sugar, and granulated sugar together on medium speed until creamy, about 2 minutes. Add the egg and vanilla extract and mix on high until combined, about 1 minute. Scrape down the sides and bottom of the bowl as needed.
- Pour the dry ingredients into the wet ingredients, add the milk and food coloring, then then mix on low speed until everything is combined. The dough will be sticky. If you want a more vibrant hue, beat in more food coloring a little at a time. Cover and chill the dough in the refrigerator for at least 2 hours (and up to 3 days). If chilling for longer than a few hours, allow dough to sit at room temperature for at least 15 minutes before rolling and baking because the dough will be quite hard.
- Preheat oven to 350°F (177°C). Line large baking sheets with parchment paper or silicone baking mats. Set aside. Also, make sure there’s room in your freezer because the cookies will need to be placed inside to prevent the chocolates from melting.
- Roll & coat: Scoop and roll cookie dough, about 1 Tablespoon of dough each. Roll each ball in the 1/2 cup of sugar and arrange on the baking sheet about 3 inches apart.
- Bake for 11-13 minutes or until the edges appear set. Centers will look very soft. Mine usually take 12 minutes. Remove cookies from the oven and cool for just 5-10 minutes on the baking sheets.
- Set the chocolate: Press a Hershey’s Kiss into the center of each, then using a thin spatula, immediately transfer the cookies to a large plate or a few smaller plates (gently– they’re soft). Place the plate(s) of cookies in the freezer for 10 minutes to quickly set the chocolate kiss in the cookie.
- Remove from the freezer and serve.
- Cookies stay fresh covered at room temperature for up to 1 week.
